Monday, June 4, 2012

The Kitchen Part II-The Cabinet Doors. . . . .

Cabinet doors. This word still makes me cringe.  I took the doors down on 12/26/08 when I started the kitchen remodel, and they were a nightmare until they went back up a year and a half later! I will sum up the process of the cabinet doors.


Initially our doors were real wood, but they were very thin and had an outdated design.  We really liked the cabinet doors that had a beadboard look, so we decided to cover our old doors with 1/4 inch beadboard, then 1/4 inch trim.  We cut these little door 'covers' and glued the trim on the beadboard for our 19 doors. 

Once we had all of the 'covers' made, I put one on one of the existing doors and it was a little thicker than I thought it would be.  I really didn't like it at all.  So we decided to just get rid of the old doors all together and use just the new part we made.  But they were a little too thin, so we decided to add a piece of 1/4 inch mdf to make them 3/4 inch, which was the perfect width.  So we had to cut 19 pieces of mdf and glue them onto the pieces we had made.  


We are not good at cutting straight lines so we had to do a LOT of sanding to make the 3 pieces level!


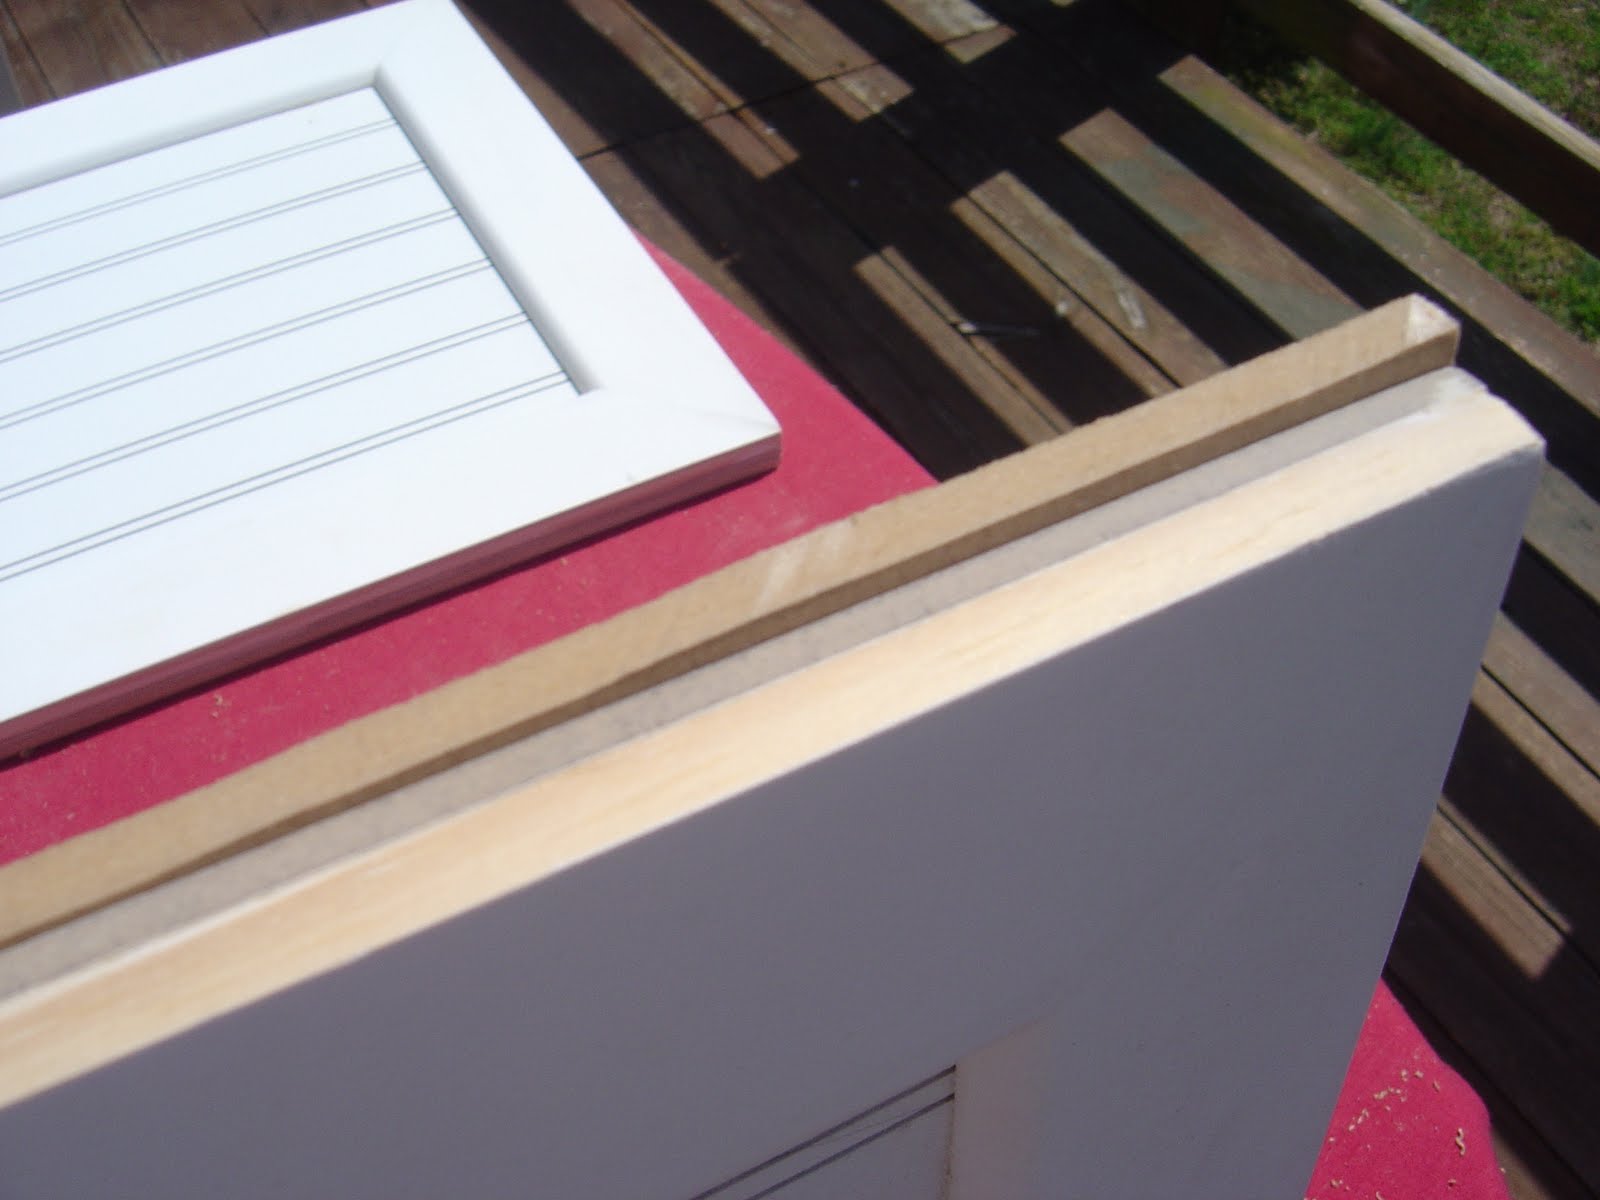
But when I tried to paint the edges, you could still see the 3 separate pieces no matter how much I sanded.  So I had to cover each side of each door with 3/4 inch iron-on melamine. 

Then we had to paint the doors.


So you can see how this entire process has taken so long.  Not to mention that we were both working and in school full time.  Putting them up was a pain as well but we will get to that next.   

Friday, June 1, 2012

The Kitchen Part I

When it comes to house projects, I tend to underestimate the amount of time/energy/money that the project is going to take. So instead of a couple of weeks and a couple hundred bucks, it turns out to be several months and a thousand bucks or more! The case of our kitchen is a prime example. It has been on my radar since the day we moved in! I did some temporary fix ups to make it tolerable (I couldn’t wake up to that rosy wallpaper everyday without losing my mind!).

(before we moved in)


We painted it green. First a mint green, then a better looking sage.  
(This was the only picture I could find with that color
on the wall! We were set up for Thanksgiving)


But I knew that one day, I wanted to really get in there and fix it up the way I wanted to. So I planned that day for December 26, 2008. I was off from Christmas Eve until New Year’s Day, and the hustle of Christmas was over, so there was no better time to tackle this monster! And I really thought that if I worked from the time I woke up till the time I went to sleep, that I could pretty much finish it in a week! Big mistake! Total underestimation!  Here are the before pictures.

12/26/08
We had already painted it and added a chair molding
when we painted our living room and dining room.


Cabinet doors and backsplash off. The backsplash was laminate that matched the ugly countertops that were off white with pink and blue stripes. 

Cabinets primed and painted.

We painted the backsplash and we added some 
beadboard to the ends of the cabinets. 
 

If remodeling the kitchen only included the base of the cabinets, the backsplash and countertops, this project would have been much simpler.  That part really didnt take me long at all.  It was the cabinet doors that about killed us for a year and a half.  The doors have been such a disaster. . . .