Sunday, April 21, 2013

The Laundry Room

The laundry room was probably the most simple of all of our projects. We weren't planning on getting to the laundry room just yet, but our hand-me-down washing machine busted and got water everywhere!  We decided since we had to pull everything out anyway, we might as well just replace the floors and paint while we are at it!  :)

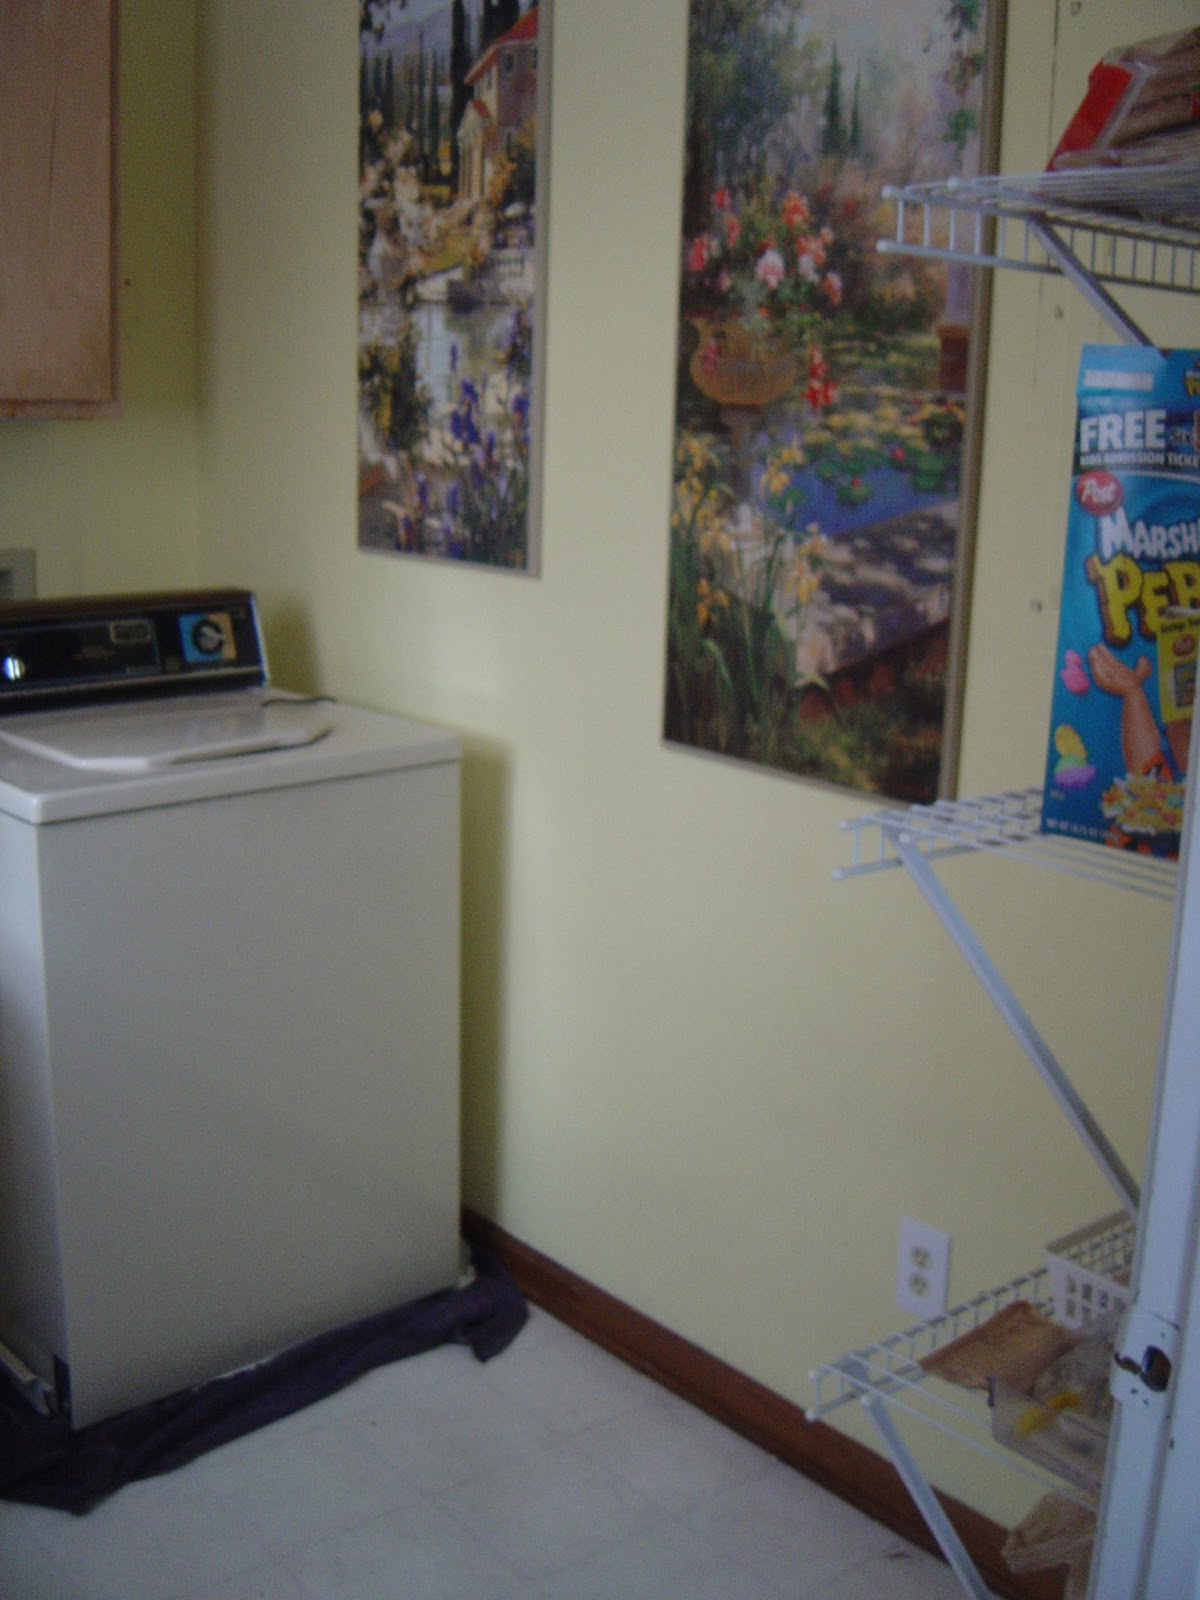
Here are some before pics. These were taken after the washer broke so the washer and dryer are sort of pulled out from the wall.


We don't have a formal pantry so we put up some wire shelving in the laundry room to act as sort of an informal pantry. We did this a few years after we moved in.

We never finished painting the wood trim or inside of the door in the laundry room.

We pulled everything out, took out the cabinets and started painting. This is the only "during" picture I snapped :(

So here's the list of things we did:
        *Painted the walls
        *Painted the ceiling (it was not so "bright" white before)
        *Painted the trim
        *Made a curtain
        *Put down new flooring
        *Replaced the light fixture
        *Replaced the old door with a 6 panel door
        *Added 2 rows of wire shelving above the washer dryer
        *Got "new" (used) WHITE washer/dryer
        *Got baskets from dollar tree and labeled them
        *Installed a broom/mop holder
        *Added one more wire shelf on the "pantry" side
        *Made a couple of art pieces

And VoilĂ !! New laundry room!


We were considering ceramic tile, but we found a cheaper easier DIY option. There is a new version of peel and stick tile that is groutable. It didn't take any fancy saws or anything like that, just some big scissors!  It was much less expensive. And it grouts just like regular tile. Super simple! Super cheap! Super awesome! The other added bonus is that it doesn't get really cold like ceramic does. We think it looks great and it only took a few hours to install!!

 
 New 6 panel door with a new brush nickel handle.

I sewed a small piece of fabric to make the curtain and used stencils to paint it!
 
Things I love about the new laundry room:
1. Its super organized!
2. I love the color palate. The walls seem so clean and the floor has a nice slate look
3. We have plenty of storage in our informal "pantry" since we don't have a formal one
4. Its finished and it only took a few weeks! Our shortest project ever!!!!
 
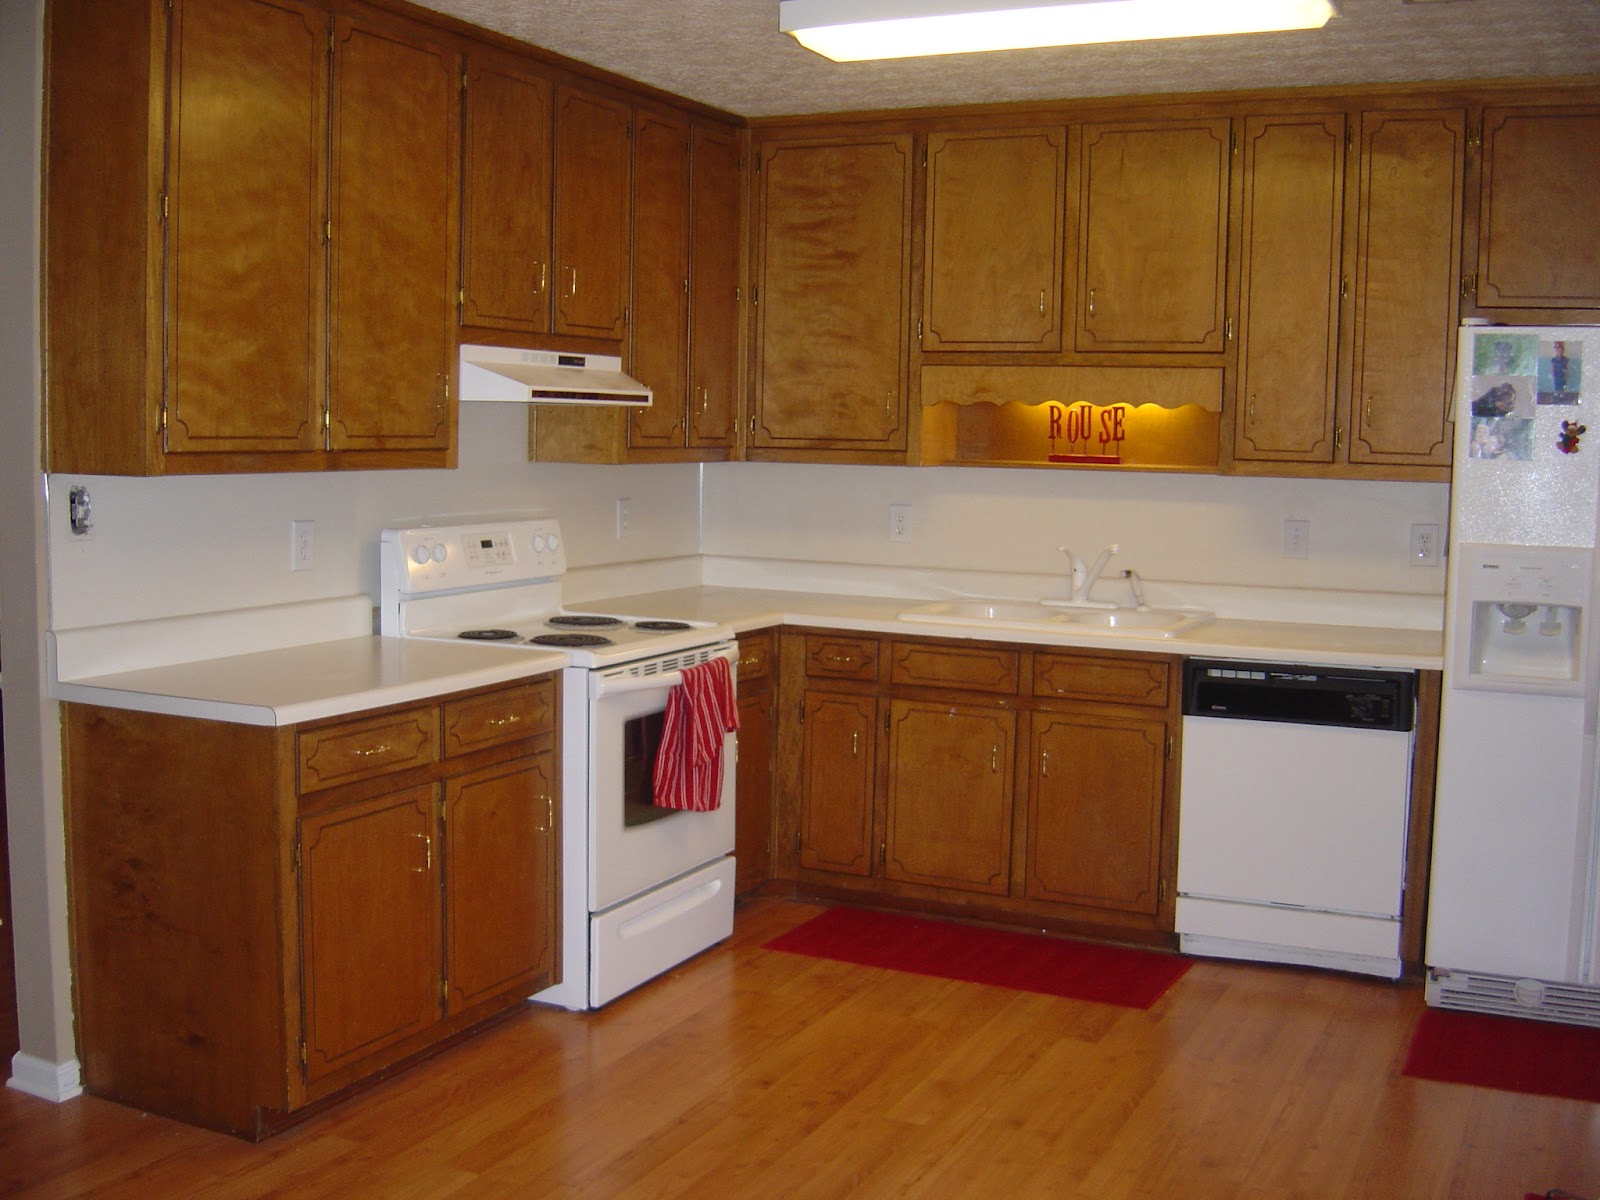
Here is a pic from before we moved in. It's a better shot of the hideous floors. 


Here is a side by side before and after!
 

Thursday, August 2, 2012

The Kitchen Part III-The Final Reveal

December 26, 2008. That was the day I took the cabinet doors down and embarked on this never ending project. I can't say that we have worked diligently on this project throughout the entire 3 years, 7 months and 7 days.  There have been times of great productivity and months of stagnation.   We havent had a lot left to do over the past year, mostly just finishing touches. But until now we have had to consider the kitchen "not quite finished yet."  This project has been quite the headache at times, as you can see here in Part I and Part II.  But today we are finally calling it DONE.  There a couple more little projects to work on but the main part of the project is finished!!  Here are some of the befores and afters!  


Here's the kitchen before we moved in

12/26/08-Day One!


 Our new kitchen


It would have been nice if this were a 2-3 month project, and there are
definitely things we would have done differently but we learned a lot along
the way. We are so glad this project is over and in the end we LOVE our kitchen!

Monday, June 4, 2012

The Kitchen Part II-The Cabinet Doors. . . . .

Cabinet doors. This word still makes me cringe.  I took the doors down on 12/26/08 when I started the kitchen remodel, and they were a nightmare until they went back up a year and a half later! I will sum up the process of the cabinet doors.


Initially our doors were real wood, but they were very thin and had an outdated design.  We really liked the cabinet doors that had a beadboard look, so we decided to cover our old doors with 1/4 inch beadboard, then 1/4 inch trim.  We cut these little door 'covers' and glued the trim on the beadboard for our 19 doors. 

Once we had all of the 'covers' made, I put one on one of the existing doors and it was a little thicker than I thought it would be.  I really didn't like it at all.  So we decided to just get rid of the old doors all together and use just the new part we made.  But they were a little too thin, so we decided to add a piece of 1/4 inch mdf to make them 3/4 inch, which was the perfect width.  So we had to cut 19 pieces of mdf and glue them onto the pieces we had made.  


We are not good at cutting straight lines so we had to do a LOT of sanding to make the 3 pieces level!


But when I tried to paint the edges, you could still see the 3 separate pieces no matter how much I sanded.  So I had to cover each side of each door with 3/4 inch iron-on melamine. 

Then we had to paint the doors.


So you can see how this entire process has taken so long.  Not to mention that we were both working and in school full time.  Putting them up was a pain as well but we will get to that next.   

Friday, June 1, 2012

The Kitchen Part I

When it comes to house projects, I tend to underestimate the amount of time/energy/money that the project is going to take. So instead of a couple of weeks and a couple hundred bucks, it turns out to be several months and a thousand bucks or more! The case of our kitchen is a prime example. It has been on my radar since the day we moved in! I did some temporary fix ups to make it tolerable (I couldn’t wake up to that rosy wallpaper everyday without losing my mind!).

(before we moved in)


We painted it green. First a mint green, then a better looking sage.  
(This was the only picture I could find with that color
on the wall! We were set up for Thanksgiving)


But I knew that one day, I wanted to really get in there and fix it up the way I wanted to. So I planned that day for December 26, 2008. I was off from Christmas Eve until New Year’s Day, and the hustle of Christmas was over, so there was no better time to tackle this monster! And I really thought that if I worked from the time I woke up till the time I went to sleep, that I could pretty much finish it in a week! Big mistake! Total underestimation!  Here are the before pictures.

12/26/08
We had already painted it and added a chair molding
when we painted our living room and dining room.


Cabinet doors and backsplash off. The backsplash was laminate that matched the ugly countertops that were off white with pink and blue stripes. 

Cabinets primed and painted.

We painted the backsplash and we added some 
beadboard to the ends of the cabinets. 
 

If remodeling the kitchen only included the base of the cabinets, the backsplash and countertops, this project would have been much simpler.  That part really didnt take me long at all.  It was the cabinet doors that about killed us for a year and a half.  The doors have been such a disaster. . . .

Tuesday, May 1, 2012

The New Floors and the New Living Room

In 2007, we put down new flooring in most of the house.  The carpet was pretty gross so we were glad to see it go. We chose laminate wood because it was affordable, but still looks very nice and is low maintenance. Here are some before and afters of the living room and hall.

Before


After


These pictures were taken two weeks apart so you can see we were really busy! We added chair molding in the living room and repainted. We also got a lovely "new" leather sectional and ottoman from a yard sale for $325. Ok maybe it has a little wear on it but it was in great condition and its very comfy!!

The next step was to take down the door to the garage you see in the picture above and replace it with an open arched entry way into the future "new living room".  Brians parents moved in with us for a year and converted the garage into a small apartment with a full bathroom and put up a permenant wall in place of the garage door. We still shared the kitchen.  They had just moved out so we were ready to open it up! (Again on knowing our limitations-we thought about putting in the floors ourselves, but we decided to pay someone to do it because we would have surely messed them up! Also we paid someone to put in the archway and add the landing area)


Then we painted, put in carpet, moved the furniture in! It is very cozy and we are so glad to have a nice big living room!


Wednesday, November 30, 2011

The Master Bathroom

So we started with this.....


Then we painted and lived with this for a while


But in 2008 we started to make some serious changes. To this day, removing wallpaper is absolutely the most loathsome task we have ever attempted.


Then we removed a wall. Well . . .half  a wall


Then we took out the old tub, put in a new one (new to us) and tiled the area around it.
The tub, toilet and two sinks were from a newer home that was being
torn down due to structural problems. We bought them all for $100!  


We had to touch up all of the holes we left when we ripped down the wallpaper.


We have really begun to learn our limits when it comes to construction, so we paid someone to do the shower and tile the floor.

And just about a year later, we were done! 


 There are a few other little things we would like to do like change the countertops
and fix the mirror, but we are definitely happy with it for now!!